
Your Step-By-Step Guide to Fall Bulb Planting
As the crisp autumn air settles in and leaves begin to turn, it is the perfect time to start thinking about your garden’s future. Following a spring garden guide now ensures a spectacular display of color once the winter frost melts away. Success begins with proper fall bulb planting, which gives your spring-flowering bulbs the necessary time to establish strong root systems in the cooling soil. By focusing on essential garden bed preparation and paying close attention to the correct planting depth for each variety, you can guarantee a professional-looking landscape. Whether you are a seasoned gardener or a beginner, mastering these simple steps today will reward you with a breathtaking backyard retreat next season.
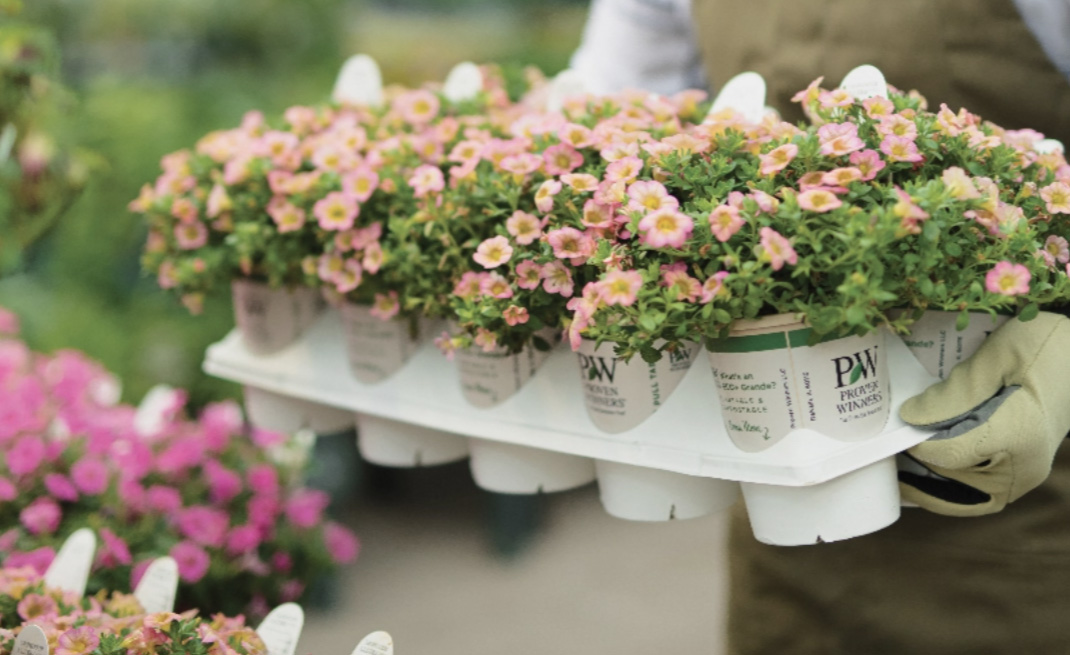
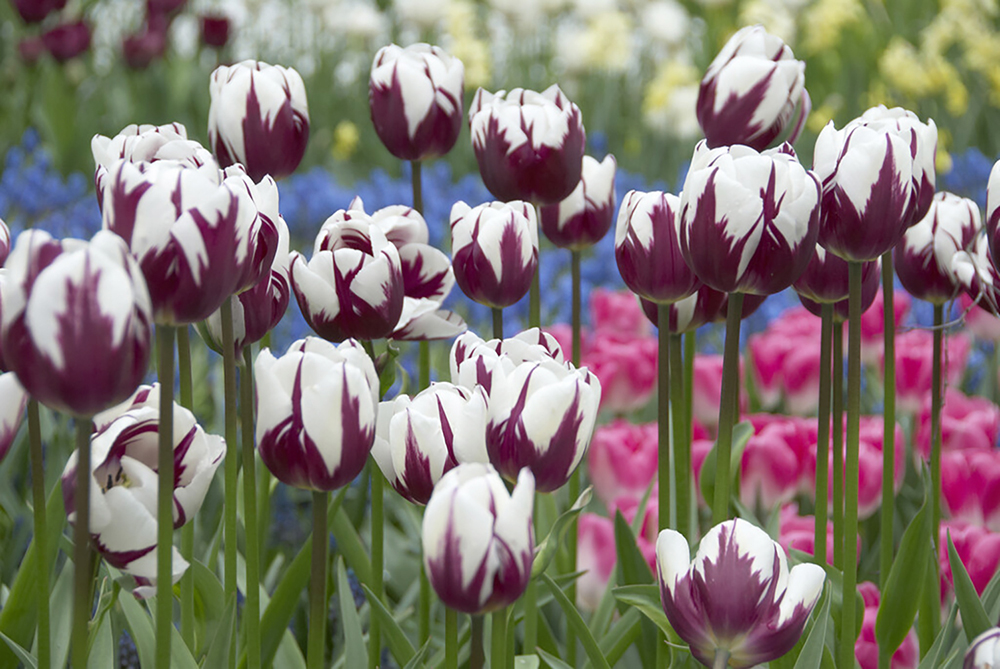
‘Rem’s Favorite’ tulips – from the Proven Winners premium bulb collection. | Hoping to have beautiful blooming tulips, dazzling daffodils and amazing alliums next spring? It’s time to plant! Garden centers are stocked with bulbs in the fall and it is prime shipping time for mail order bulb suppliers. The sooner you shop, the better the selection - but are there really any spring bulbs you wouldn’t want to see blooming after a long winter’s rest? Let’s look at the steps you’ll need to follow when planting bulbs this fall in order to see blooms next spring. |
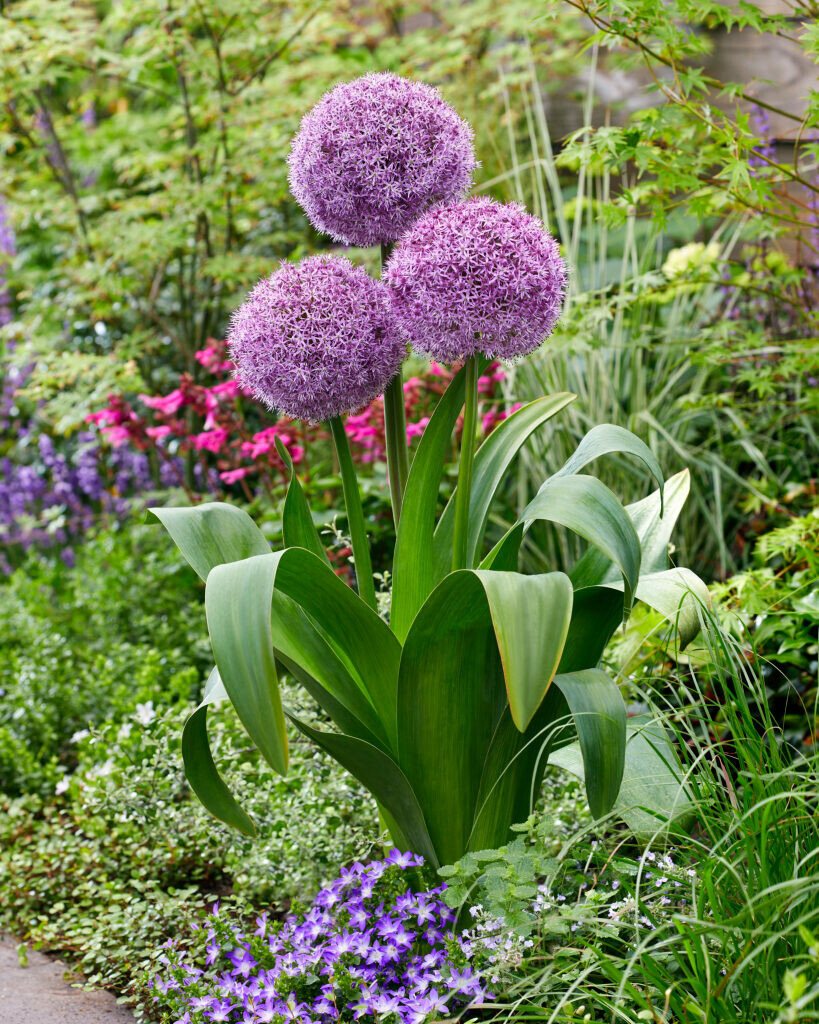
Globe alliums like ‘Party Balloons’ are planted in the fall. Bonus: these ornamental onions are deer resistant. | Which Bulbs to Plant in FallSpring blooming bulbs like tulips, daffodils, alliums, crocus, hyacinths, snowdrops, Fritillaria, grape hyacinths, scilla and Dutch iris all require fall planting. By contrast, summer flowering and foliage bulbs like lilies, caladiums, canna lilies, elephant ears, dahlias, gladiolus, freesia and ranunculus are planted in the spring and bloom in the summertime. Spring blooming bulbs need to be planted the fall prior to when they bloom, so if you wait until you see them flowering in your neighbor’s yard, it will be too late. That’s because they require a cold winter’s rest in order to bloom, so don’t delay or it will be a whole year before the opportunity comes around again. |
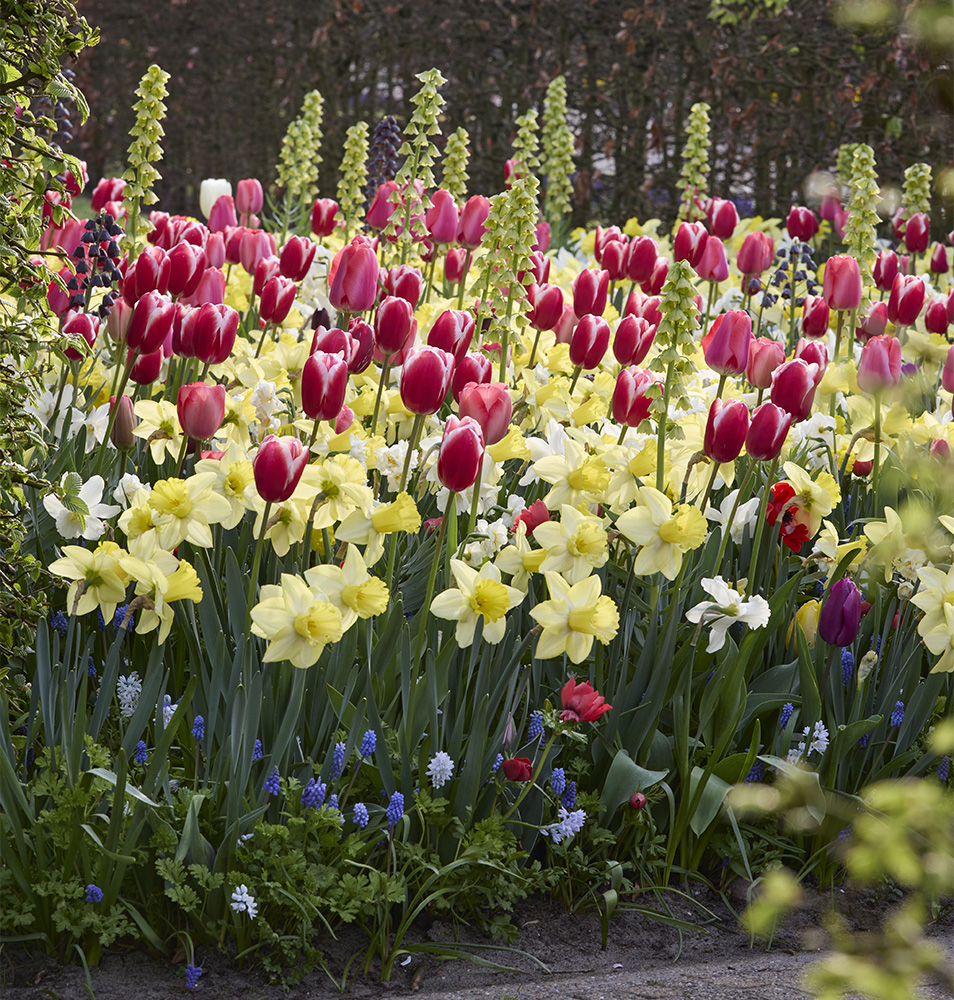
Bulbs you see blooming in early spring like tulips, daffodils and grape hyacinths were planted in the fall. | When to Plant Bulbs in FallMid- to late fall is the best time to plant spring blooming bulbs. In most climates where bulbs are commonly planted, that means somewhere in the October-November timeframe. If you purchase your bulbs before it is time to plant, store them away from direct sunlight in a cool, dry place. Planting them too early when the ground is still warm can cause the bulbs to rot. Aim to sink your bulbs in the ground up to six weeks before the ground freezes. If you miss the planting window and the ground is still workable, go ahead and plant them anyway. Alternatively, you can plant the remainder in containers (read more on that below.) Bulbs don’t save well from year to year, so you’ll need to get them all planted this season. |
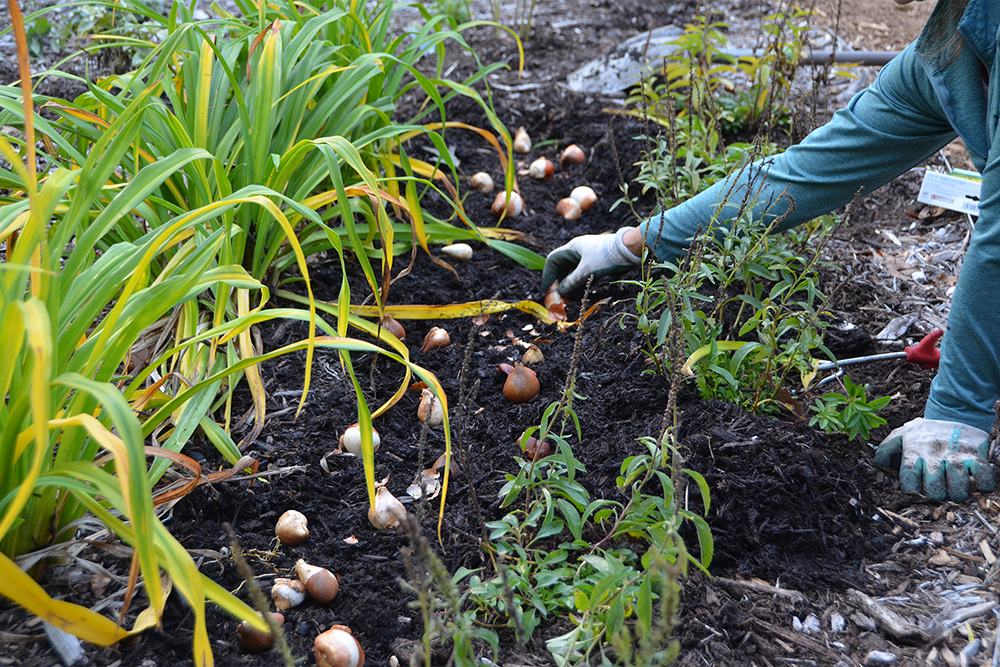
Planting bulbs amongst perennials helps to mask their browning foliage as they are going dormant after blooming in spring.
| Where to Plant Spring Blooming BulbsAs is true with any garden plants, it’s important to match the right plant to the right place. Consider how much sun and moisture your bulbs require to bloom, and whether or not they need well-drained soil. Many types of bulbs are prone to rot when they are dormant if the soil is too wet. They may grow better in raised beds or containers if you have heavy clay soil. Many types of spring blooming bulbs require far less moisture and sunlight once they have finished blooming and gone dormant. Once they are sleeping in the ground, they do not need to be fertilized since they already contain the energy needed to bloom next year. For this reason, many make good candidates for planting under deciduous trees and in non-irrigated areas of the landscape. Consider what other kinds of plants you have growing where you want to add spring blooming bulbs. Use them to add early color to beds before most perennials have popped back up, or coordinate them with spring flowering trees like serviceberry, redbud, cherry, crabapple, dogwood and hawthorn. Keep in mind that once spring bulbs have finished blooming, their leaves will begin to turn yellow and brown as the energy from the foliage drains back into the bulbs. It’s critical to let this process play out naturally, even though it means there may be a few weeks when the garden doesn’t look as tidy as usual. Planting bulbs just behind or amongst leafy perennials and deciduous shrubs can help mask bulb foliage as it is going dormant. For instance, daffodils make a great pairing with daylilies since their foliage is similar and the bulbs finish just in time for the daylilies to hide their browning foliage. |
Using a Twist ‘n Plant® gardening auger makes bulb planting far faster and easier. A plastic ruler is also a handy tool for measuring hole depth. | How to Plant BulbsTrue bulbs typically have a flatter side where you may see a few fine roots that have emerged and another side that has a subtle or pronounced point to it. Plant your bulbs with the flatter side down and the pointy side up. The new stems and leaves will emerge from the tip of the point next spring. Not sure which end is up? Plant the bulb on its side - nature can usually find a way. Bulb packaging will include the recommended planting depth for each type of bulb, so be sure to read it carefully. If you’ve already discarded the packaging or aren’t sure, a good rule of thumb is to plant bulbs two to three times as deep as their height. For instance, if a tulip bulb measures two inches tall, plant it four to six inches deep. Use a ruler to measure the first few holes you dig until you get a good feel for the right depth. The easiest tool you can use to plant bulbs is a Twist ‘n Plant® gardening auger. Attach this sturdy steel auger to a standard drill and you’ll have your bulb holes dug in a snap. It’ll save your back and knees, not to mention your time, while making bulb planting a whole lot more fun! |

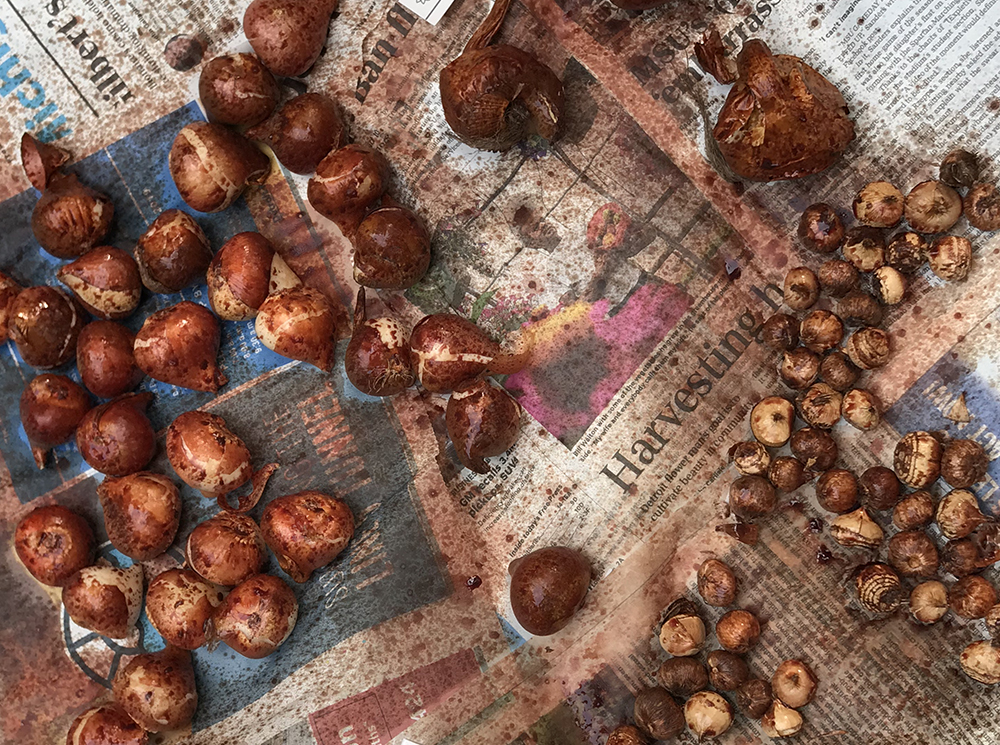
Spraying bulbs with animal repellent before planting can help to thwart squirrels and other pests. | Do you struggle with squirrels digging up your bulbs? There are a few measures you can take to thwart their efforts. First, consider planting bulbs they don’t like – daffodils, hyacinths and alliums, for instance, instead of tulips and crocuses which are their favorites. Another idea is to lay your bulbs out on the ground or newspaper before planting and spray them with animal repellent like Plantskydd®. Let the repellent dry on the bulbs, then plant as usual. Laying chicken wire over the ground where you’ve just planted bulbs can make it harder for squirrels to dig them up, too. When you’re finished planting, clean up any of the papery sheaths that have fallen off your bulbs in the process – they’re a signal to potential pests that delicious bulbs lie underfoot. Cover the area with shredded leaves or bark to disguise where you’ve planted. Mulch may also keep the soil warm for a bit longer, giving your bulbs more time to develop roots before the ground freezes. |
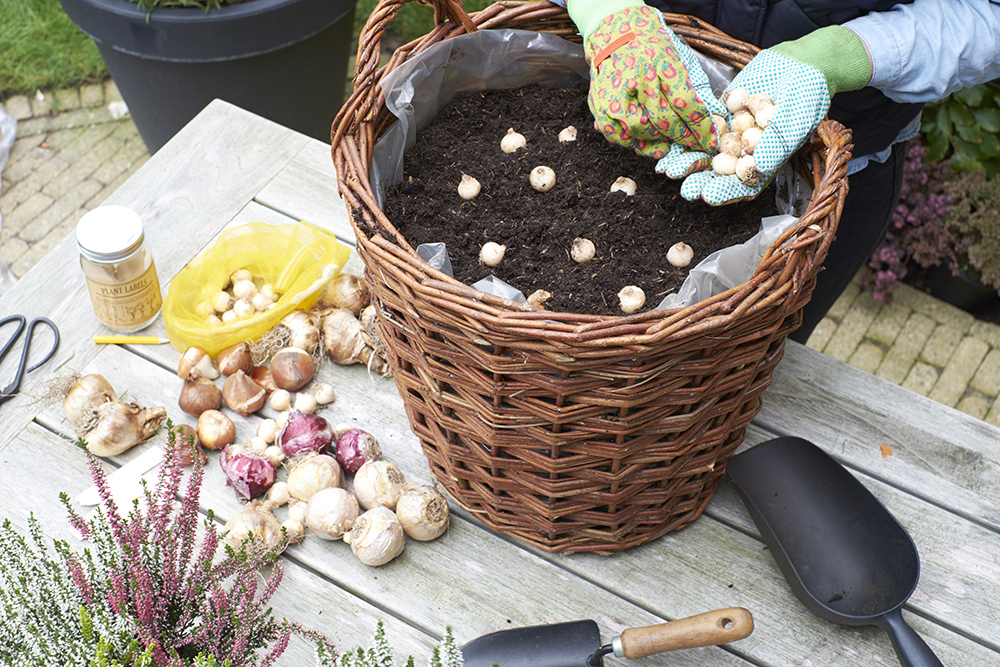
Most spring blooming bulbs can be grown in containers for a season or two by following the tips below. | Special Considerations for Growing Bulbs in PotsMuch of the advice given above also applies to growing spring blooming bulbs in containers. Be sure to use lightweight, well-drained potting soil to prevent the bulbs from rotting. Water at the time of planting, then allow the soil to dry a bit before watering once more before winter arrives, during which time the bulbs can sit dry while dormant. Storing potted bulbs under cover makes it much easier to control the amount of moisture they receive. Beware that mice, voles and chipmunks will be on the hunt for food during winter, and potted bulbs can make a tasty meal. You may need to screen the tops of the pots and bait for rodents in your shed or wherever you decide to store your potted bulbs for the winter. When bulbs start to poke up out of the ground in your garden in the spring, it’s time to pull your potted bulbs out of storage and set them out in the sun. As they begin to emerge, consider protecting them with animal repellent so your planting efforts won’t go to waste. |
Want to dive deeper? Check out these resources:
- Explore: Find Proven Winners Premium Spring Blooming Bulbs
- Read: More Bulb Questions Answered
- Read: Fall Garden Tips and Ideas
Stay up to date with Proven Winners on Facebook, Instagram, Pinterest, YouTube and TikTok.
Contributor Bio: Susan Martin is an avid zone 6 gardener and content creator who enjoys spreading her passion for plants to others across North America.
All images courtesy of Proven Winners.